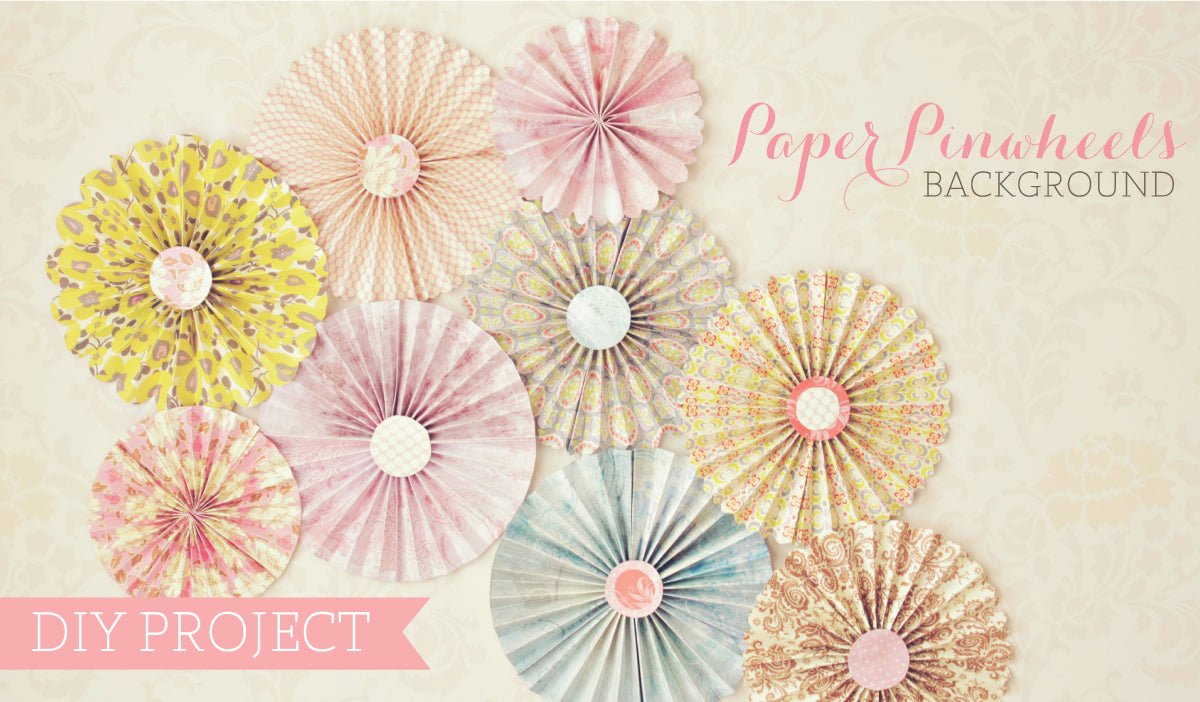
DIY Project - Pinwheels Background

One of the purposes of this blog is to create valuable material for photographers, specially for all who love to capture a sweet newborn, kids, and the togetherness of a family. So I will be doing DIY projects for all of you, hope it will be helpful and a source of new ideas for your portraits and photo projects.
As a photographer I know that every sessions is special and unique, and you have to be refreshing your studio props, new hats, new blankets, new chairs, new backgrounds, new colors... well I consider special to share this way to do an easy and chic background for your studio. It's easy, cheap, and the final scene will look just amazing

For this project you will need:
- a round object to mark a circle
- a pencil
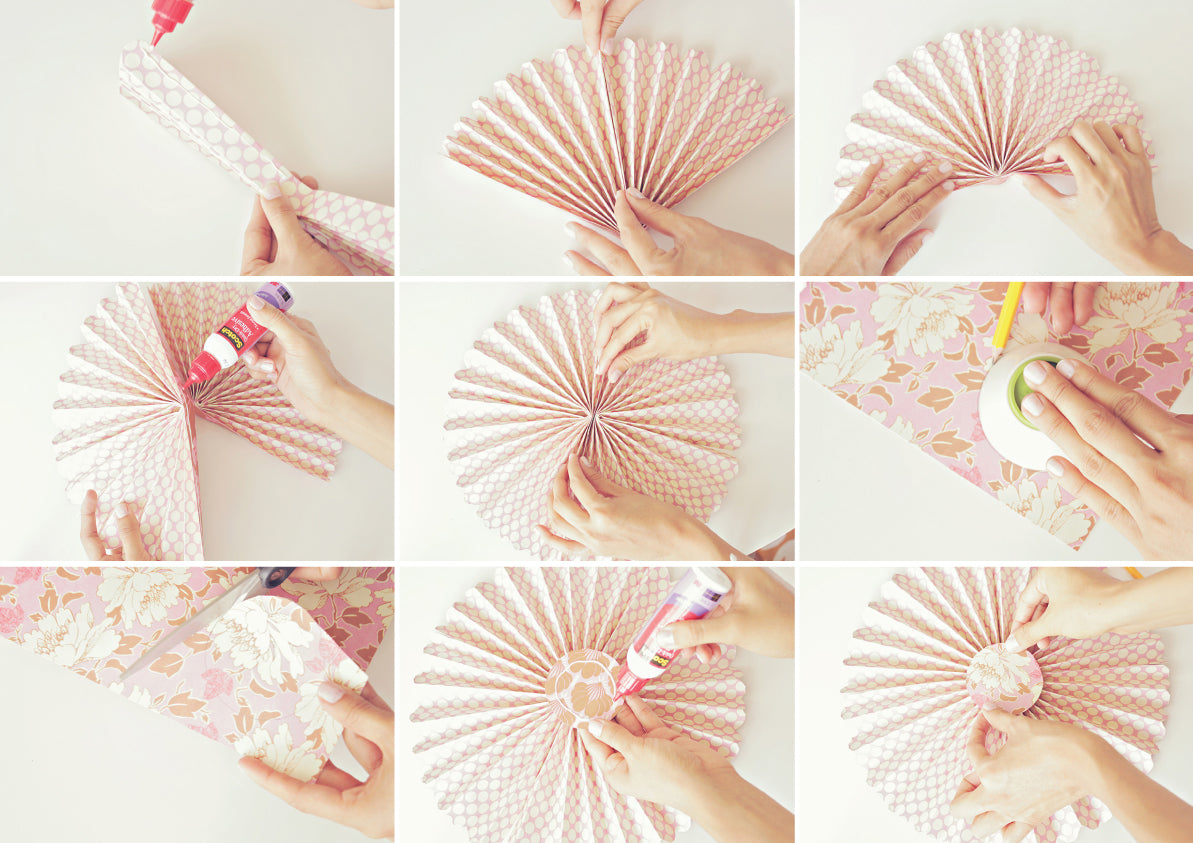
1. Do 1/2-inchwide accordion folds in the scrapbook paper until you get a fan folding shape. Two fans will form one pinwheel.
2. Using the scissors, trim ends of the paper into rounded or pointy shapes.
3. Fold the strip or paper in half and secure it with glue. This will form the half of the pinwheel. Repeat the process until you get 2 then glue them.

Repeat as many times as you like ;) combine colors, papers and textures to get a beautiful collage of pinwheels. You can do it even with white or painted paper for a wedding or couple photo shoot, or in green, red and gold for Christmas pictures, it's just about creativity! :)
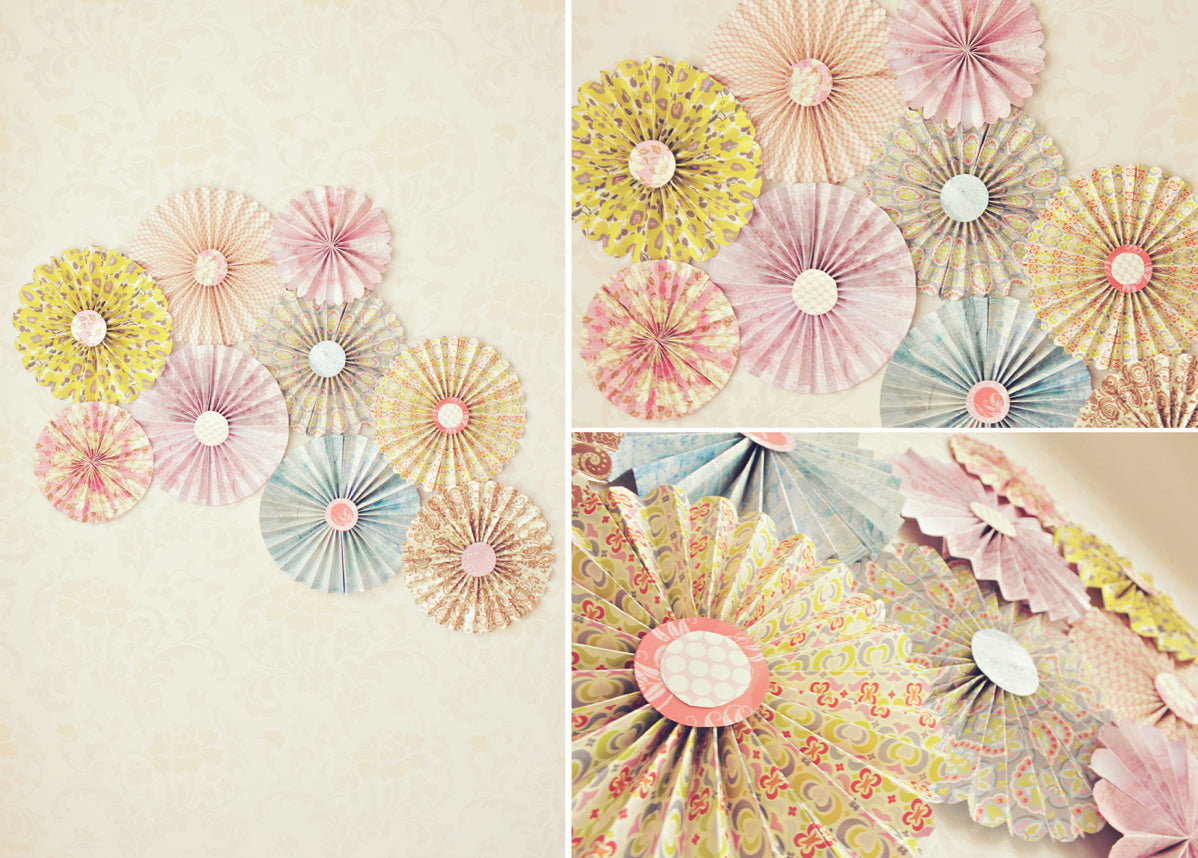
Once you are ready place them in a wood base, or in the wall with mounting tape, and voila!! A beautiful background for a long time!
I had a lot of fun making this pinwheels, try it you won't regret!
Hope you have enjoyed this tutorial! Don't forget to share your love and pin it! ;)
